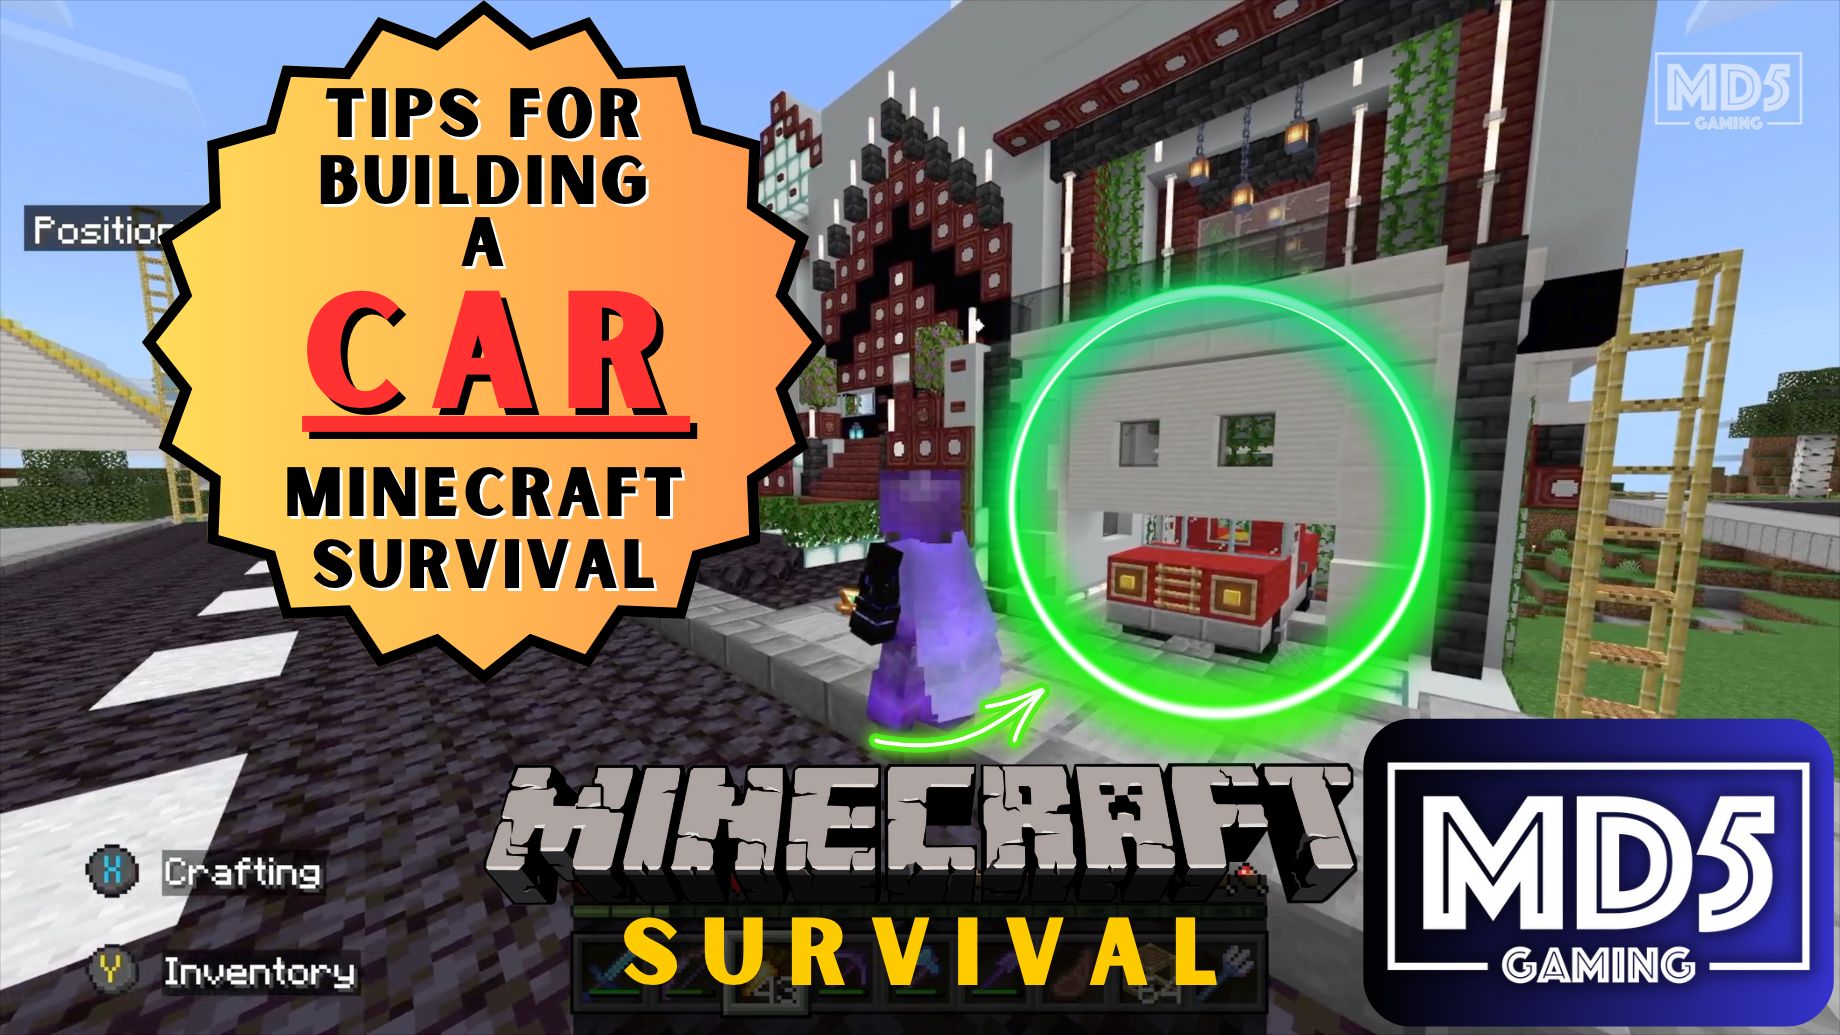
In Minecraft Survival mode, the process of building a car is a creative and enjoyable challenge. Players need to strategically utilize available resources and their imagination. Although cars cannot function like in the real world, building one can serve as a decorative element or even a fun addition to your Minecraft world. Combining imagination and resourcefulness, players can craft their own unique automobiles, giving them a distinct sense of accomplishment and satisfaction.
Build A Car Without Redstone
Building a car in Minecraft survival mode without Redstone can be a fairly simple task that can be finished relatively quickly if you have the materials ready to go. Before you start, gather the necessary materials to build the car’s structure. Items like wool or concrete are perfect for creating the body of the car. These blocks can be dyed in various colours, allowing you to customize the vehicle to your liking. Additionally, you’ll need black wool or black concrete for the tires and glass panes for the windows. For headlights and taillights, consider using, item frames with gold blocks and Redstone blocks, Redstone lamps or sea lanterns for a more dynamic look. If you want to make a red car or red truck you can use red wool. We will use a simple red truck as an example
Recommended Materials For A Red Truck
- Wool of any colour – gather at least half a stack
- 4 Item Frames
- 2 Gold Blocks
- 4 Black Wool or Black Concrete
- 6 Stone Buttons
- Glass Blocks – gather at least 10
- 1 Ladder
- 2 Irons Doors
- 2 Redstone Blocks
- Smooth Stone Slabs – gather half a stack
The Red Truck Build
Step 1
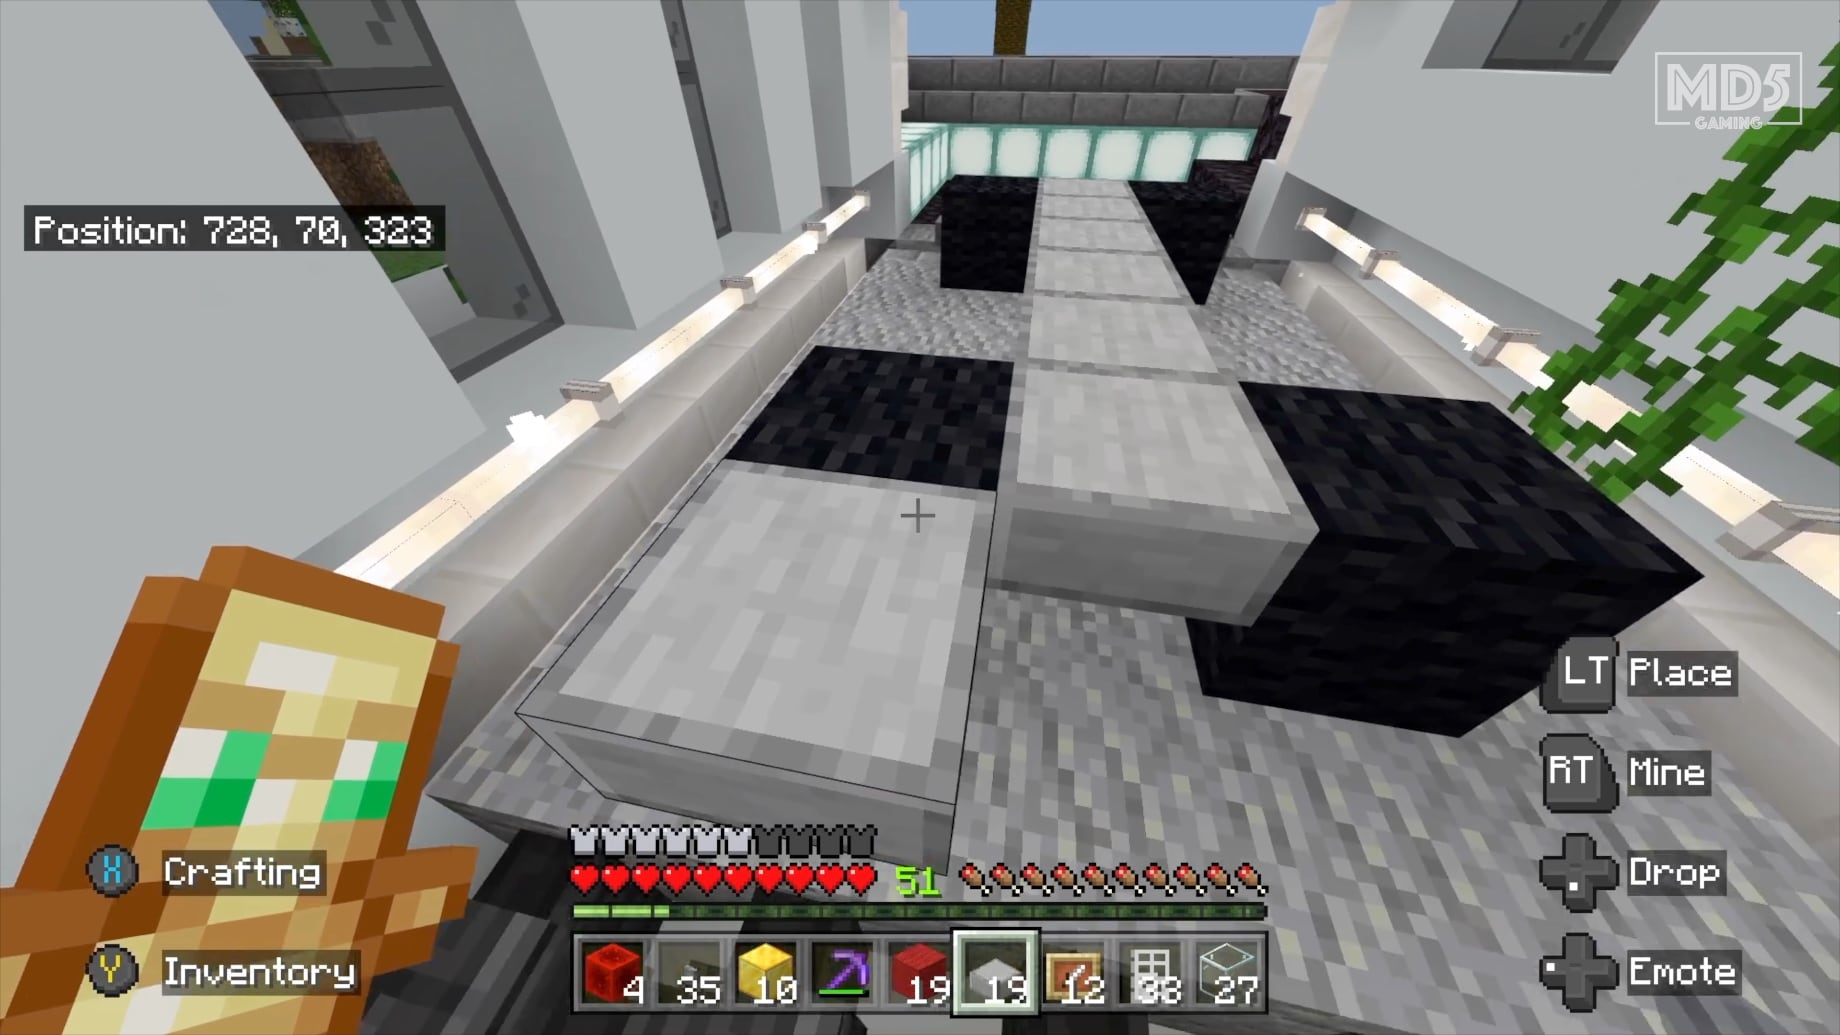
To start building a red truck in Minecraft survival gather the materials above. Once you have gathered all of the recommended materials then you can find a suitable location for you to build. Choose a flat area in your Minecraft world where you would like to build your car. Clear any obstructions and create a level surface to ensure your car will sit evenly on the ground. Begin by constructing the car’s base, which includes the wheels and the chassis. Place four black wool or black concrete blocks in a rectangular formation to resemble the tires, and then connect them using your chosen material for the chassis, such as polished diorite slabs. To start with the tire placements, start with the black wool for the tire placements. Place a tire on a block, and place the second tire 2 blocks beside it leaving one gap between it, which can act as the front tires and the front of your car. The back tires can be placed with a 4-block gap vertically between the front tires while also maintaining the 1-block gap between the horizontal axis.
Step 2
Once you have the tires placed accordingly you can add the rims to the tires by adding stone buttons to the exterior sides of all 4 tires. Once this step is complete you can begin placing the smooth stone slabs.
Step 3
With the tires placed and with the stone buttons acting as the rims you can start adding the bottom frame with the smooth stone slabs. Start by placing 3 slabs on the front of the car. The 3 slabs in the front should be 1 block ahead of the front tires adding to the length of the car by 1 block. Once you have that you can fill the 1-block gap between the tires with a smooth stone slab. Once you have that finished you can fill the rest to the back tires, then add 1 more layer behind the back tires as you did at the front of the car. Once finished the slabs should be flush with the tires.
Step 4
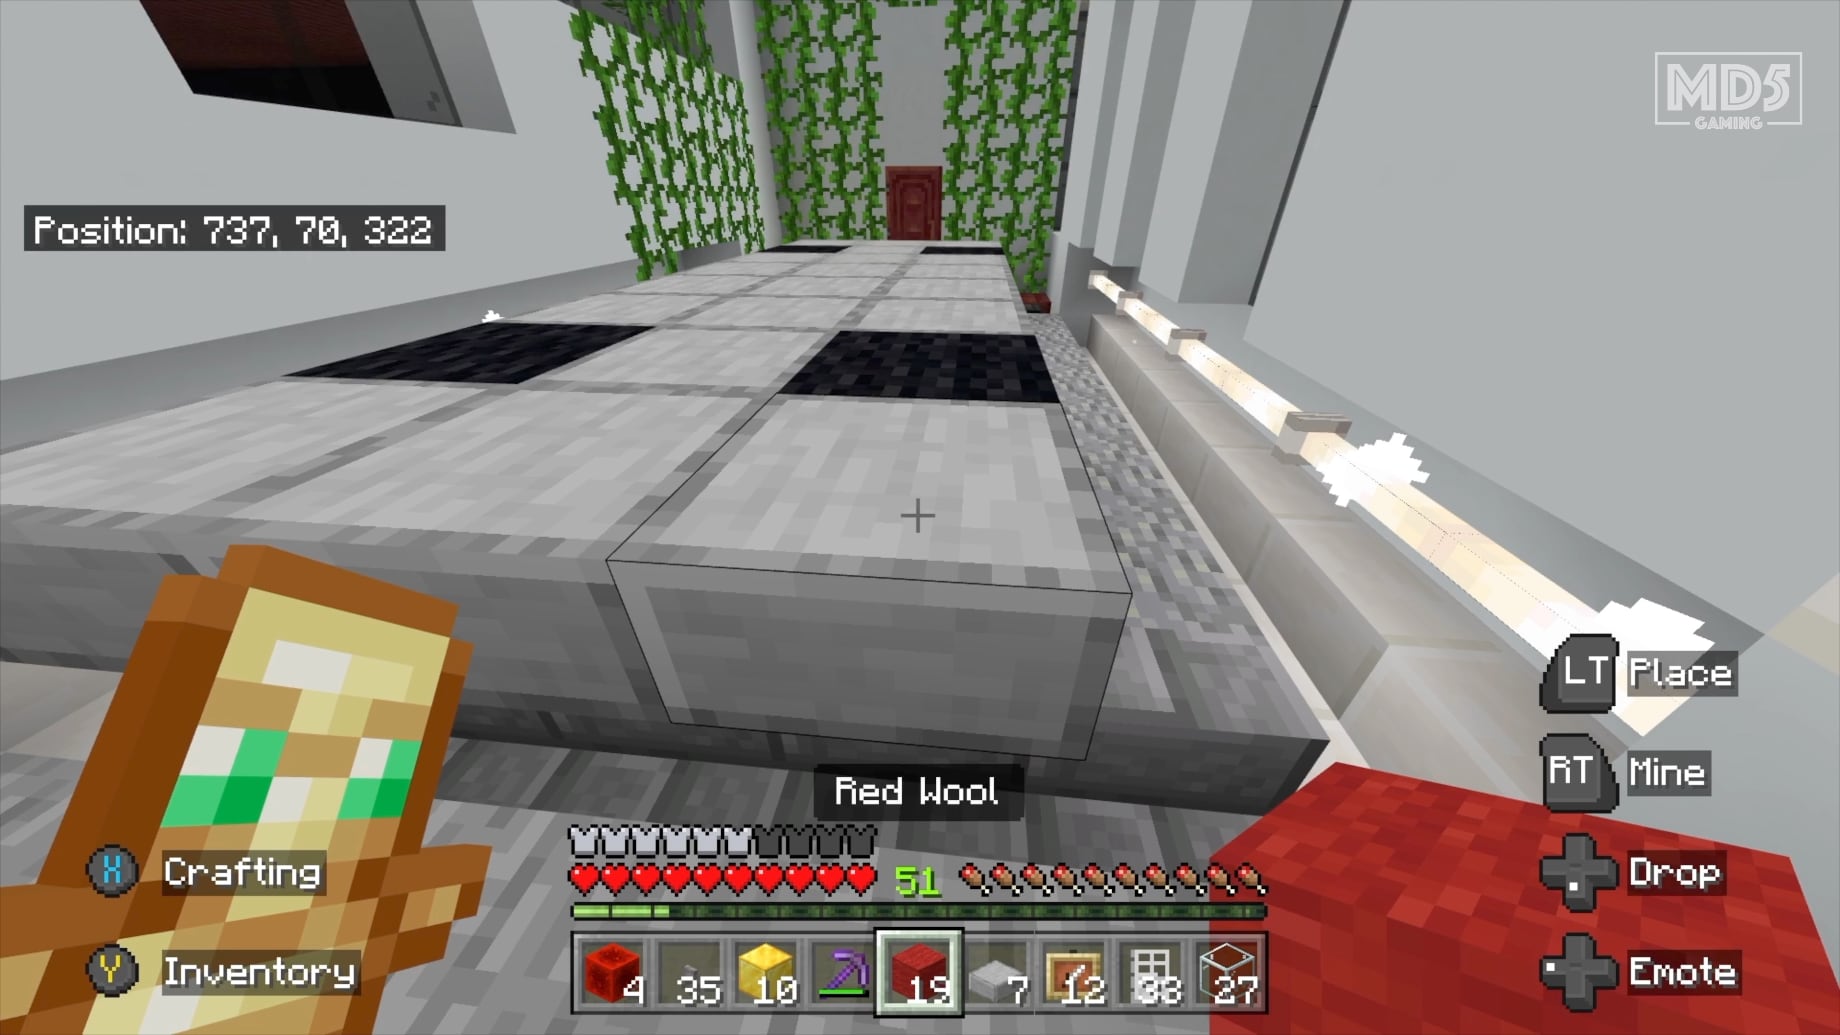
With the base established, you can now focus on the car’s body. Build up the sides using your chosen coloured blocks, making sure to leave space for windows and doors. To make your car more visually appealing, consider adding layers or using different shades of the same colour for a more detailed look. Add glass panes for windows and create doors using either iron doors, trapdoors or a mix of wool and glass panes.
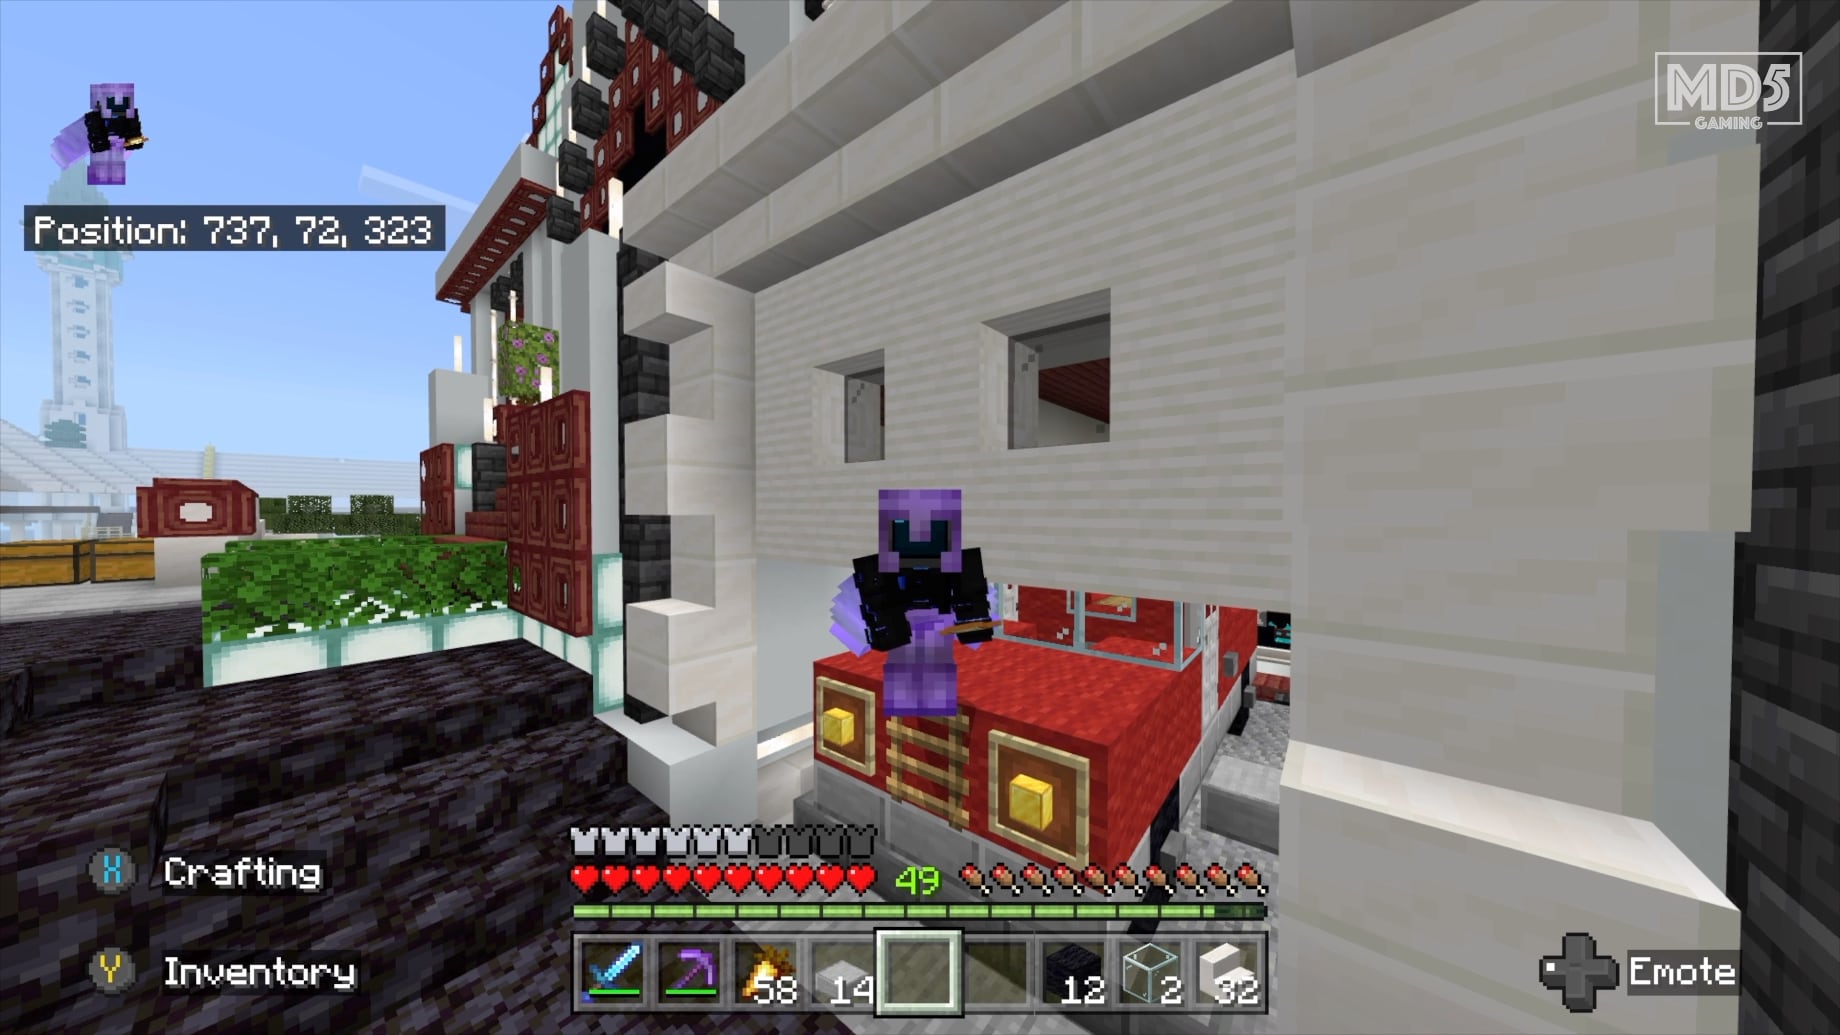
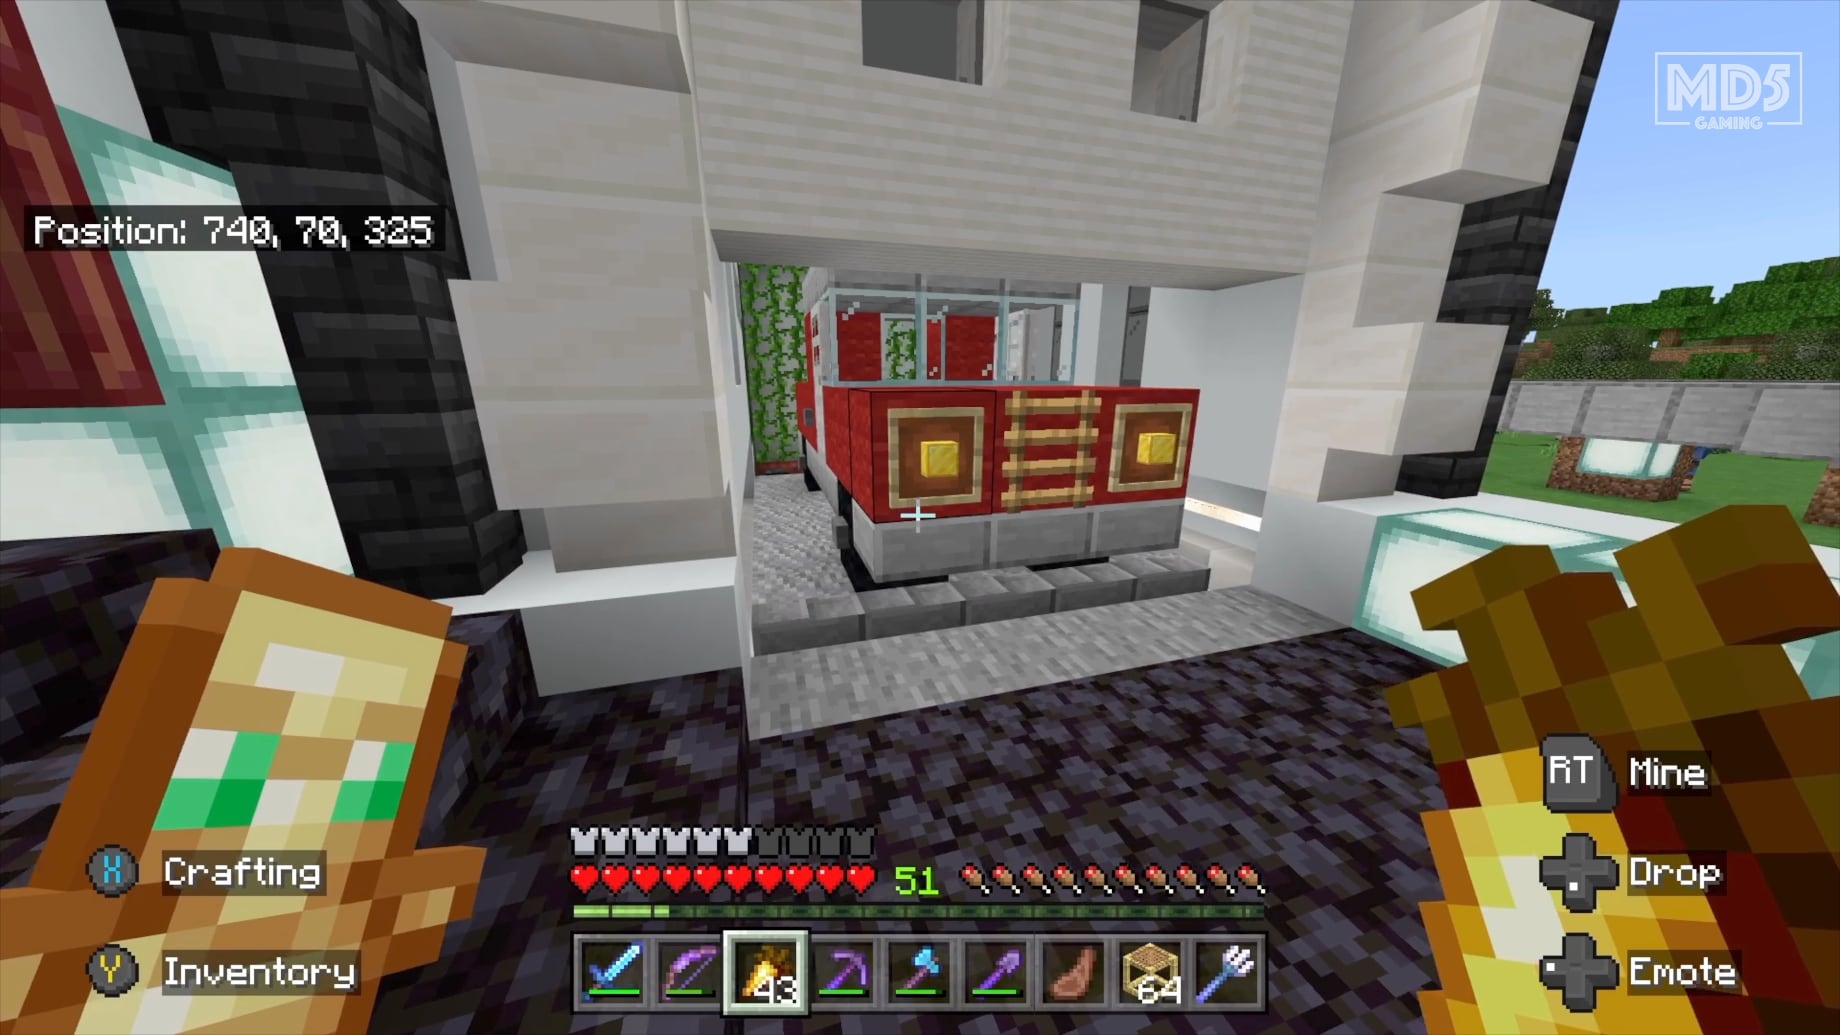
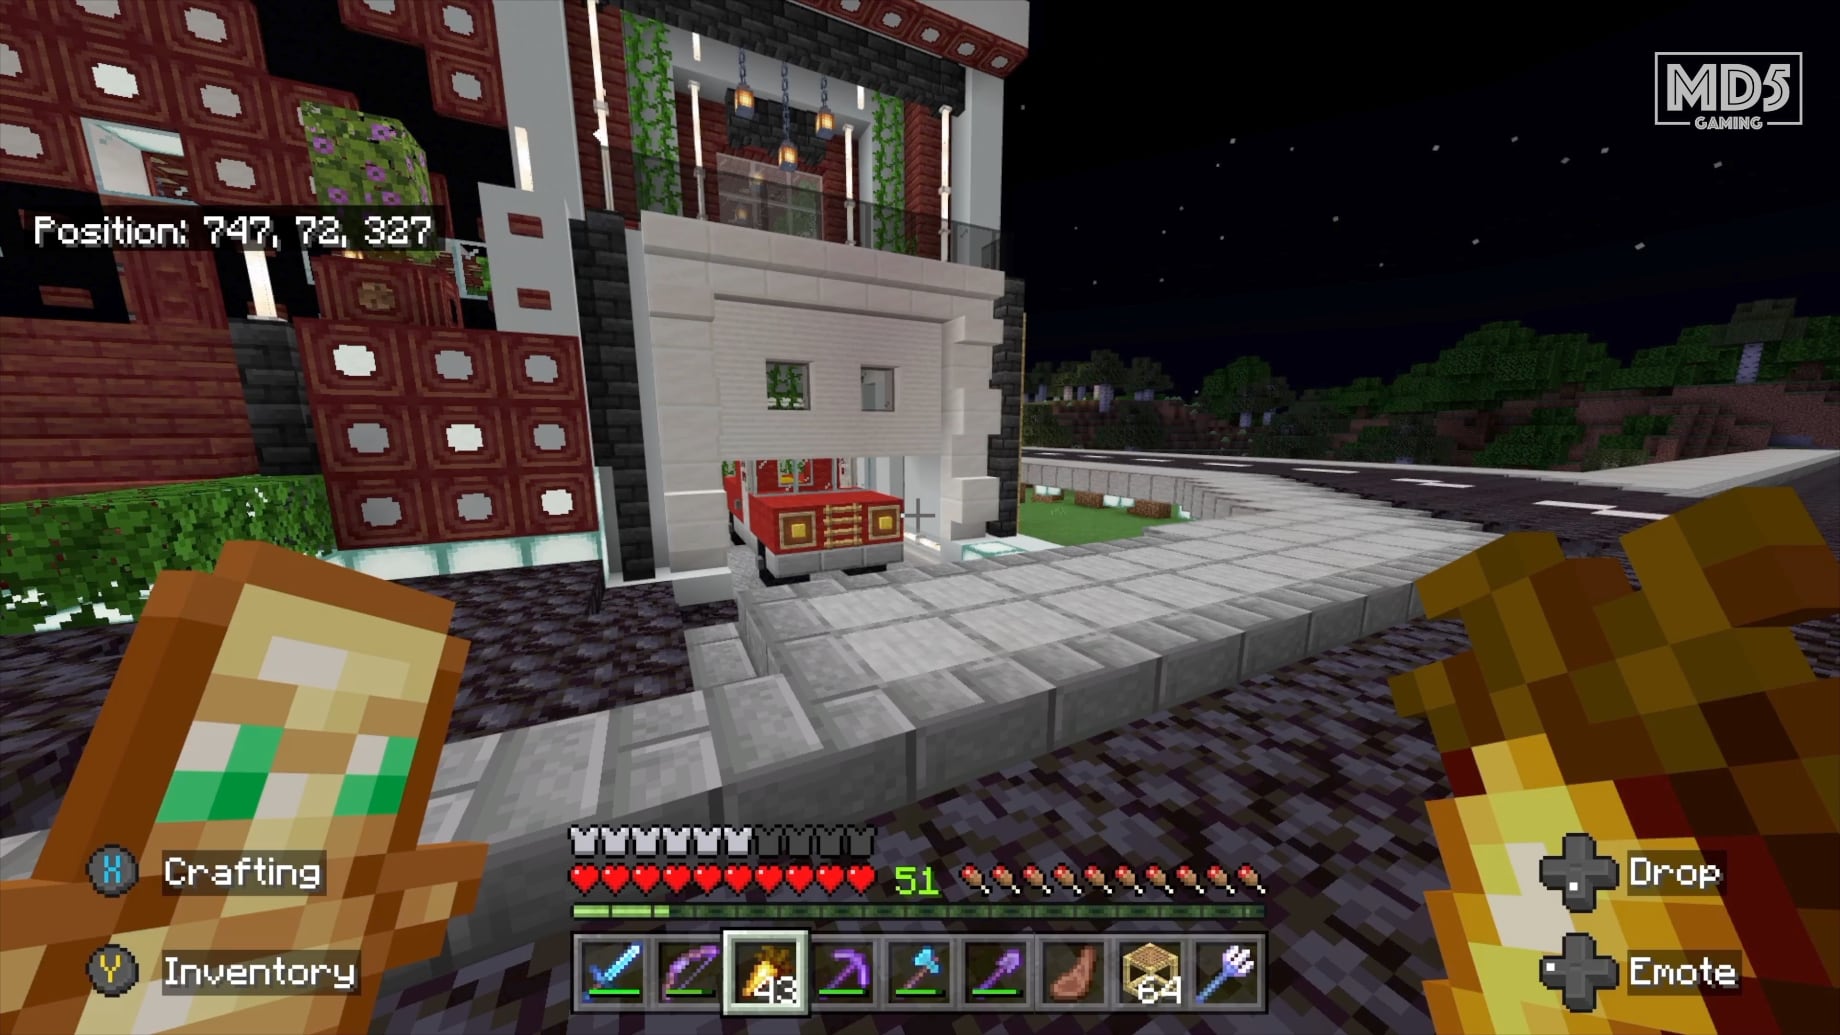
Start the body of the car by adding 3 red wool blocks on top of the front slabs, and add another 3 over the tire reaching the other tire. After that add 1 on the first slab behind the tire, do this on both sides leaving a gap in the middle slab. Add an iron door on the next slab, do this on both sides. Add 3 glass blocks along the front on top of the 2nd red wool block, this will be the windshield. On the next slab add red wool 2 blocks high on both sides and add one red wool block in the middle between with 1 glass block acting as the back cabin window. On the next slab add 1 red wool block all the way to the back, leaving an empty gap on the back middle slab which can be filled with cargo like wood or hay blocks.
Step 5
Now it’s time to build the roof and add the finishing touches. Construct the roof using the same smooth stone slabs, the same material as the car’s bottom structure, ensuring that it smoothly connects flush with the sides.
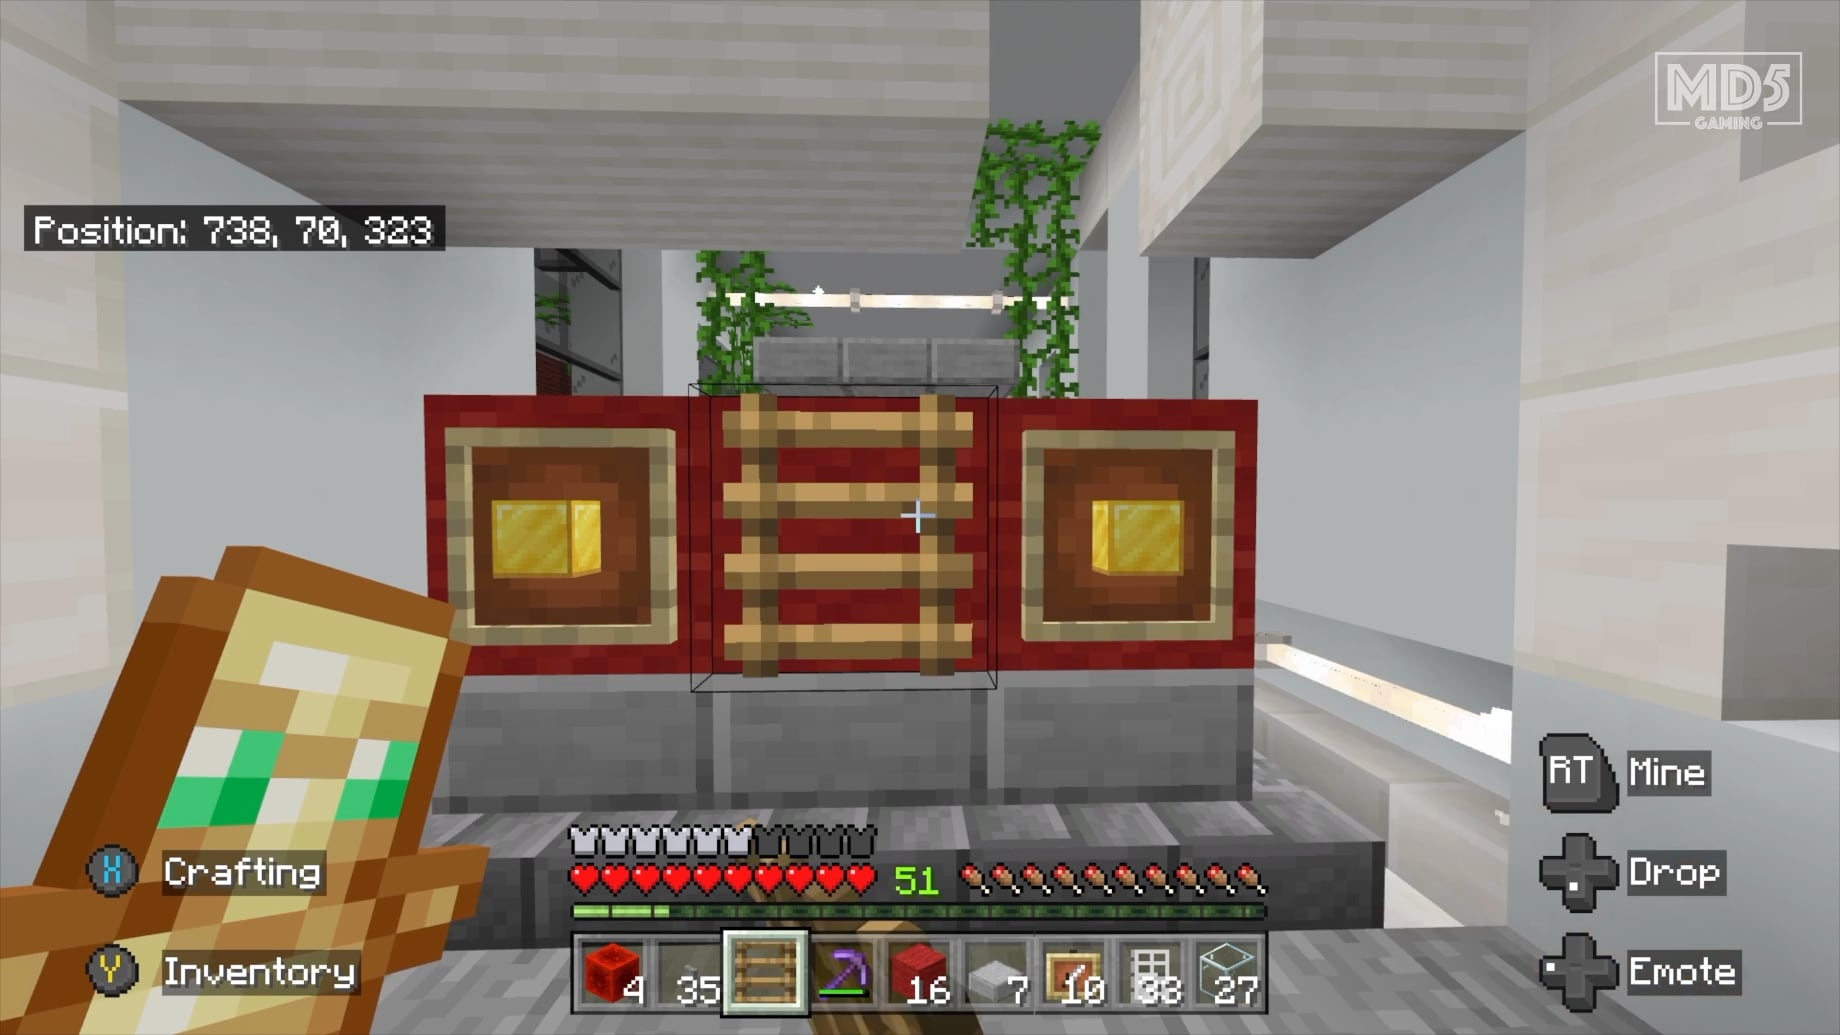
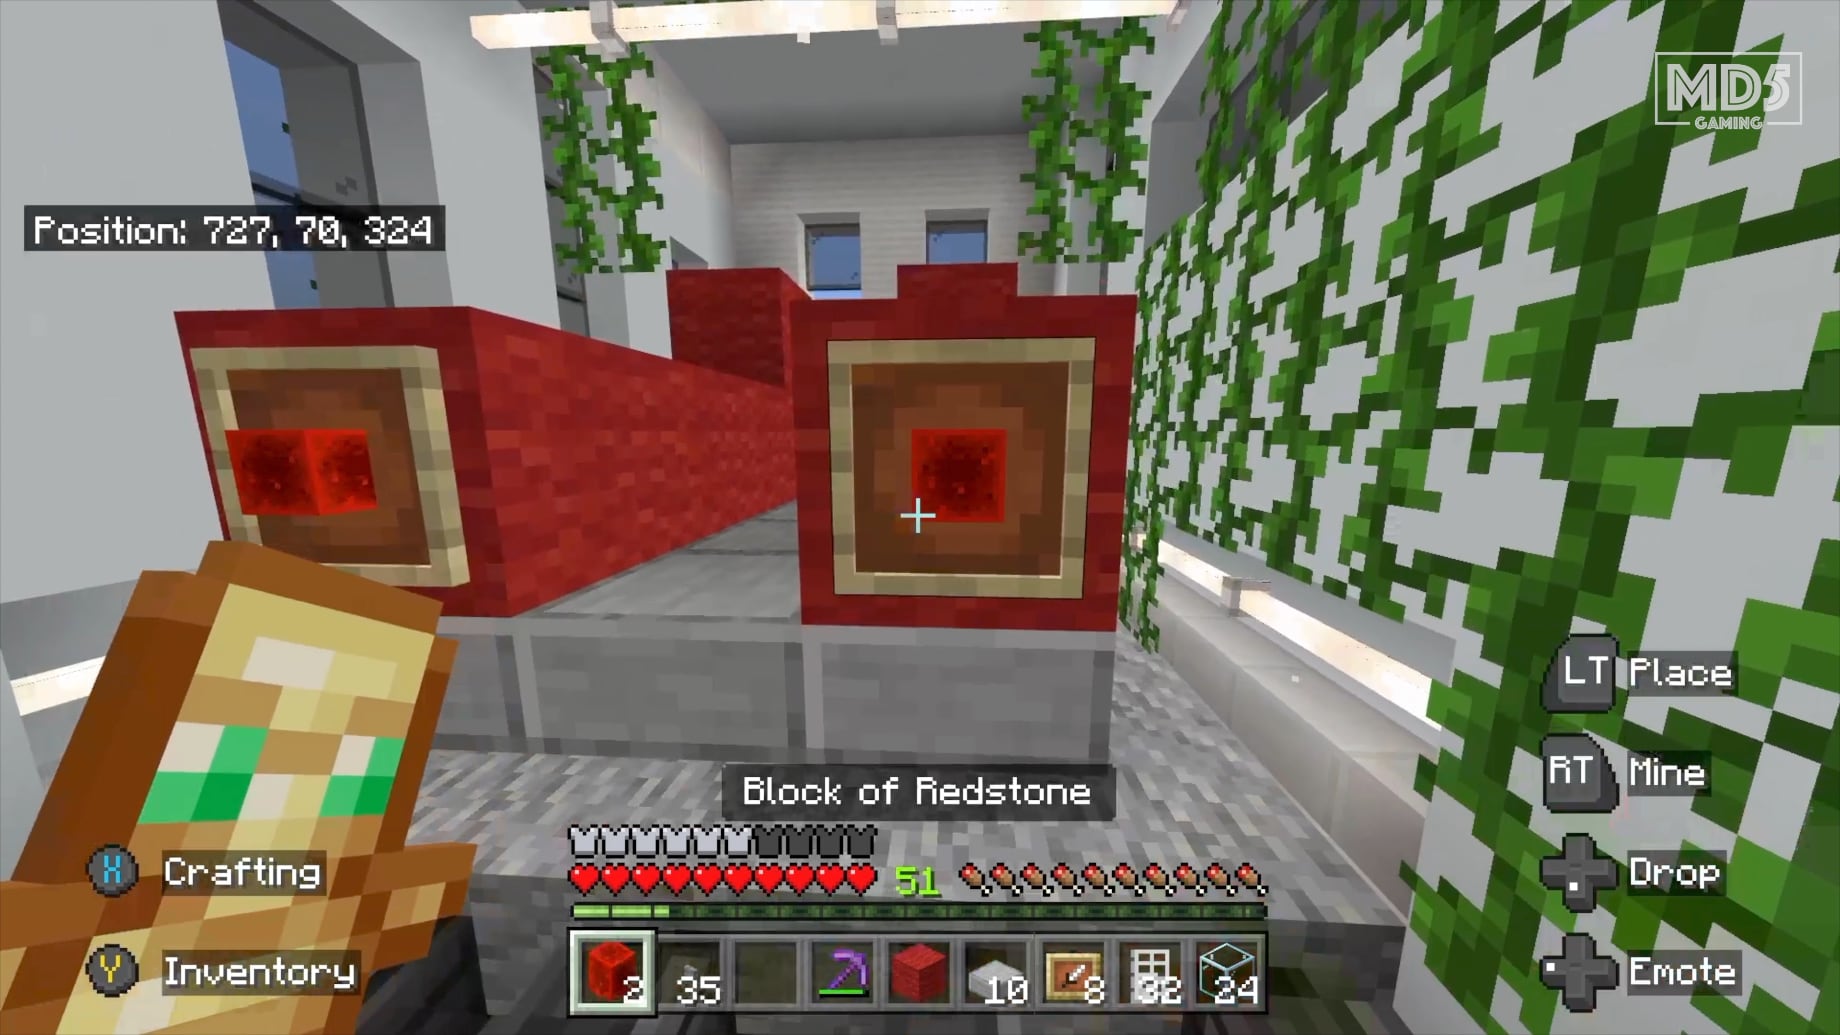
For a more realistic look, you can create a sloped roof by adding stair blocks in the front and back. Add the headlights and taillights using item frames with gold blocks on the front and Redstone blocks on the back, you can also use Redstone lamps or sea lanterns, and consider placing buttons on the sides of the car to mimic door handles, and if you add iron doors it will open the door, just remember to put a button inside too. You can add 1 ladder in between the headlights to add to the aesthetic. Add finishing touches to decorate the truck, such as hay blocks or wood blocks in the back of the truck to add to the realism.
Final Product
While your Minecraft car may not be able to drive, it can still be a fun and creative addition to your world. Experiment with different designs, colours, and materials to create various types of vehicles, such as trucks, sports cars, or even buses. Building a car in Minecraft Survival mode demonstrates your resourcefulness and creativity while providing an enjoyable way to spend your time in the game. So, gather your resources, unleash your imagination, and start constructing your very own Minecraft automobile.
Build A Car With Redstone
Since the game doesn’t offer actual car components, players must utilize various blocks and Redstone mechanisms to create a vehicle that closely resembles a car. To begin building a car with Redstone mechanics in Minecraft Survival, gather essential resources such as wood, stone, wool, Redstone, slime blocks, and iron. Wood and stone are the basic building blocks, while wool will serve as the car’s exterior, mimicking its paint job. Redstone components, such as pistons and Redstone dust, are crucial for creating the car’s moving parts. Slime blocks will be used as a core element in the vehicle’s propulsion system, while the iron is necessary for crafting minecarts, which will act as the car’s base.
Once the necessary resources are collected, begin constructing the car’s frame using wood and stone. Design the frame to include space for wheels, seating, and a Redstone engine. Placing minecarts on the sides of the frame can simulate the appearance of wheels, and stairs or slabs can be used for the car’s seats. Remember to leave room for the Redstone components that will control the vehicle’s movement.
Next, install the Redstone engine, which will power the car’s motion. Position sticky pistons on the frame, and attach slime blocks to their ends. Place Redstone blocks adjacent to the pistons, and connect them using Redstone dust. This arrangement will create a basic propulsion system, allowing the car to move forward when the pistons are activated. Test the engine by applying a Redstone signal, such as a lever or button, to ensure it functions properly.
Once the propulsion system is operational, complete the car’s exterior by adding wool blocks in your desired colour. Arrange the wool to resemble a car’s body, including a hood, roof, and trunk. Players can get creative with their designs, crafting unique shapes and contours to give their car a personalized touch. Additionally, consider installing lighting using Redstone lamps or glowstone, to mimic headlights and tail lights.
With the car fully assembled, it’s time to hit the road! Navigate your Minecraft world in style, exploring vast landscapes and discovering hidden treasures in your custom-built car. Be prepared to make occasional repairs and adjustments, as the terrain and in-game physics can sometimes cause issues with the vehicle’s functionality. Nevertheless, the sense of pride and accomplishment that comes from building your own car in Minecraft Survival makes the journey all the more enjoyable.